You can easily elevate your nail game this spring with beautiful DIY nail art. In this post, you will discover simple yet impressive tutorials that allow you to create stunning designs right at home. Whether you’re a beginner or have some experience, these step-by-step guides will help you explore your creativity and add a touch of seasonal flair to your manicure. Get ready to impress yourself and others with vibrant colors and delightful patterns that celebrate the essence of spring!
Spring-Inspired Nail Designs to Try at Home
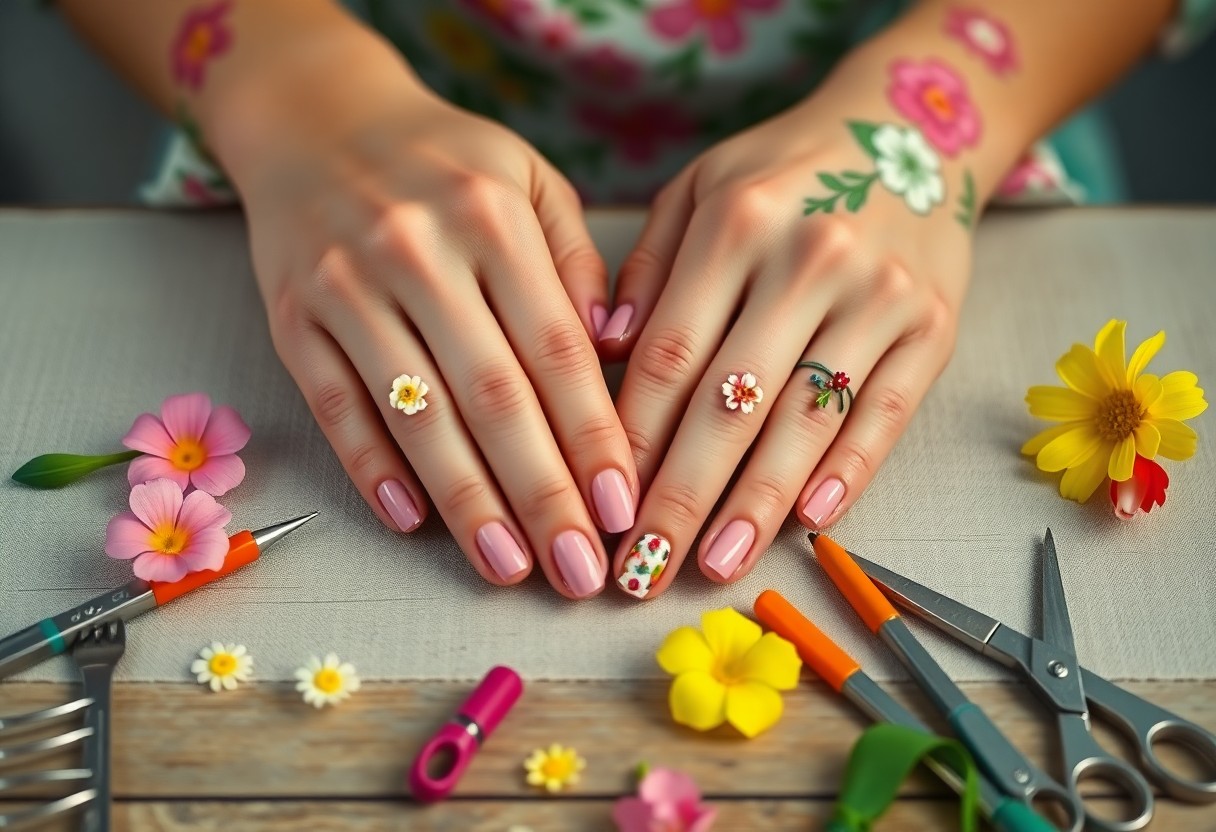
Floral Patterns: Mimicking Nature’s Palette
Transform your nails into tiny canvases that celebrate the blooming beauty of spring by incorporating floral patterns. The secret lies in selecting a color palette inspired by newly blossomed flowers. Think pastel pinks, soft yellows, and vibrant greens. Start by applying a base coat to protect your nails, then use a fine brush or dotting tool to create flower shapes. You might opt for simple daisies with white petals and yellow centers or elaborate tulip designs. Adding tiny green leaves will enhance the natural look, giving your nails a fresh and lively vibe reminiscent of nature in full bloom.
For added flair, consider experimenting with negative space techniques, allowing your natural nail to peek through between flowers. This approach not only showcases your creativity but also makes your design feel airy and light—perfect for the season. Stencils or nail decals featuring floral motifs can also simplify the process, especially if you’re new to nail art. With practice, you’ll feel confident in creating a bouquet of designs right at your fingertips.
Ombre Magic: Transitioning Colors for a Spring Vibe
Ombre nail art offers a delightful way to blend colors seamlessly, giving your look a soft and dreamy quality that evokes that fresh spring feeling. To create this beautiful gradient effect, choose a few complementary shades, such as soft lavender, mint green, and pale yellow. Using a makeup sponge, start with the lightest color at the base of your nail, gradually layering the darker shade toward the tip. The key is to blend well as you transition between colors, allowing each hue to merge softly into the next.
To achieve the best results, start with a solid base coat and allow it to dry fully. When applying the ombre technique, tap the sponge lightly on your nail to prevent excess polish from smudging your design. Adding a top coat will smooth out the textured look of the sponged finish and enhance the overall vibrancy of the colors. The ombre effect is versatile; you can customize it by using analogous colors for a subtle transition or go bold with contrasting shades for a statement look.
Perfecting ombre nails might take a couple of tries, but the juicy transitions from one color to another can evoke images of soft floral fields or sunset skies, truly capturing the essence of springtime beauty. By varying the intensity of your chosen shades, your ombre nail art can easily go from subtle to striking, making it a fantastic option for any occasion this season.
Tools of the Trade: Essentials for DIY Nail Art
Equipping yourself with the right tools is necessary for mastering DIY nail art. A professional-looking manicure at home relies heavily on having the right instruments. You’ll need a variety of brushes for different effects, a reliable dotting tool for creating precision dots and patterns, along with a good nail file and buffer for perfecting your nail shape. Investing in a quality brush set that includes fine detail brushes, flat brushes, and fan brushes will give you the flexibility to create intricate designs or bold strokes. Look for dotting tools with different sized ends to achieve everything from tiny polka dots to larger flower centers. Having these key tools at your fingertips will help you experiment with technique and execute your artistic vision seamlessly.
Brushes, Dotters, and Other Must-Haves
Each type of brush serves a particular purpose; for example, a detail brush can make all the difference when you’re trying to create tiny, elaborate designs. Flat brushes are excellent for creating sharp lines or filling in large areas with color. Dotting tools are especially handy for creating flowers, animal prints, or even abstract art. A clean-up brush is also necessary for those who may spill a little polish beyond the nail; having some nail polish remover handy and a small brush to erase mistakes will keep your designs looking pristine. Don’t overlook the benefits of a good pair of tweezers for intricate embellishments like gems or decals, which can elevate your nail art to another level.
Choosing the Right Nail Polishes for Longevity
Your choice of nail polish can profoundly affect how long your nail art lasts. Selecting high-quality, chip-resistant polishes designed for longevity will drastically improve the durability of your creations. Look for formulas that are labeled as ‘long-wear’ or ‘last up to two weeks’; these typically contain stronger resins and bonding agents that adhere better to the nail surface. Brands that offer a wide range of colors often have more advanced formulations that deliver both vibrant color and resilience. Additionally, consider investing in a top coat that provides a glossy finish and seals your designs in place, as this can add an extra layer of protection from chips and wear.
Top coats not only enhance the longevity of your polish but also create a professional finish, making your DIY nail art look salon-quality. For the best results, apply a thin layer of top coat every few days to refresh your nails and maintain their vibrancy. Combining a strong base coat, high-quality polishes, and a reliable top coat is your secret weapon for ensuring that your nail art looks fabulous for weeks to come.
Step-by-Step Tutorials for Stunning Spring Manicures
| Design | Description |
|---|---|
| Delicate Daisy Nails | A simple floral design bringing a touch of nature to your fingertips. |
| Gradient Sky Nails | Techniques for a beautiful fade reminiscent of a springtime sky. |
Delicate Daisy Nails: A Simple Floral Design
To achieve delicate daisy nails, start by painting your base coat with a soft pastel shade, such as a light pink or baby blue. Once dry, dip a fine-detail brush or a dotting tool into white nail polish and create small circles for the center of each daisy. Add small petals around each circle by using the same tool. You can enhance the look further by introducing tiny dots of yellow in the centers. A quick top coat will seal the design and give it a glossy finish.
This design is incredibly versatile and can be customized to match any outfit or occasion. Consider mixing different pastel colors or applying daisies to just one accent nail to make a statement. Have fun with scale as well; try varying the size of the flowers from nail to nail for a playful appearance that still feels cohesive.
Gradient Sky Nails: Techniques for a Beautiful Fade
Gradient sky nails create a breathtaking transition that mimics a serene spring sky. Start with a white base coat for a clean canvas. Apply two to three shades of nail polish that transition from light to dark. Use a makeup sponge to apply the colors, dabbing them onto the nail to create a seamless gradient effect. A gentle roll or stipple motion will help blend the colors together in a natural way. Finish the process with a top coat to ensure durability and to smooth out any unevenness from the sponge.
When applying the gradient, experimentation is key. You can try colors that resonate with your mood; think of soft blues and pinks for a twilight effect or sunlit yellows transitioning into light blue for a bright day. Timing is important, allowing each layer to dry slightly before applying the sponge again will create that soft blend you’re aiming for, resulting in a stunning visual transition that is perfect for the spring season.
Expert Tips for Nail Art Longevity
To ensure your stunning DIY nail art lasts as long as possible, follow a few key tips that will help preserve the integrity of your designs. Start with proper nail care and preparation, as these steps lay the foundation for a long-lasting manicure. After applying your art, use high-quality top coats to protect your designs from chipping and fading. Here’s a quick list of expert tips to keep in mind:
- Always start with clean, dry nails.
- Apply a base coat before adding color or designs.
- Seal your nail art with a top coat for added protection.
- Avoid excessive exposure to water and harsh chemicals.
- Moisturize your cuticles regularly to prevent cracking.
Any extra care you take will enhance the longevity of your nail art and keep your hands looking fresh and polished throughout the season.
Preparing Your Nails: The Foundation for Success
Getting your nails ready for art is just as important as the design itself. Start by clipping and filing your nails to your desired shape, ensuring everything is neat and tidy. Pushing back or trimming your cuticles will give you a clean canvas to work on, and don’t forget to buff the surface gently to remove any ridges or imperfections. This pre-treatment will not only promote better adhesion of your nail polish but also result in a more professional-looking finish.
Next, cleanse your nails thoroughly with rubbing alcohol or another nail-prep solution to remove any oils or residue. This crucial step prevents any lifting or chipping, allowing your beautiful designs to shine through without interruptions. The cleaner your nails, the better the nail polish and art will adhere, creating an ideal surface for the masterpieces that follow.
Top Coats and Finishing Touches: Sealing the Deal
After meticulously applying your nail art, sealing it with a quality top coat is a non-negotiable step. A good top coat not only adds a glossy finish but also protects your creative efforts from chipping and peeling. There are many options available, including quick-dry and gel-like formulas; choose one that best suits your lifestyle and the look you want to achieve. Apply the top coat starting from the base of the nail and move towards the tip, ensuring even coverage and gathering at the free edge to seal off your art properly.
Investing time in this final touch can make all the difference in extending the lifespan of your nail design. Additionally, extending the top coat application to the skin surrounding your nails can prevent any premature wear. For nail artists who enjoy intricate designs, using a matte top coat can create unique effects and textures, further enhancing your spring-themed nail art. Any of these strategies will certainly enhance the longevity of your designs, ensuring that your hard work remains visible for days to come.
Unconventional Techniques to Elevate Your Nail Game
Using Household Items for Unique Textures
Think outside the box; your home is filled with treasures that can help you achieve striking nail art. Items like mesh sponges, cotton balls, or even plastic wrap can create stunning effects that you won’t get from a typical nail brush. For example, use a crumpled piece of plastic wrap to dab different colors onto the top of a wet nail. This technique creates unique marbled patterns that are effortlessly chic. Sponges can also be an excellent tool for ombre effects—simply apply nail polish to the sponge, then dab it onto your nails for a smooth gradient look.
Incorporating these household items not only allows you to experiment with textures but also adds a fun twist to your nail art routine. By mixing and matching various techniques, such as stamping patterns with a sponge or using a cotton ball to create fuzzy textures, you can elevate your design game. You can even use a teabag for a natural, lace-like effect, providing a vintage touch to your nail polish palette.
Incorporating Nail Foils and Stickers for Creativity
Nail foils and stickers can add dimension and shine, instantly taking your design from simple to stunning. Foils come in various colors and patterns, allowing you endless possibilities to express your style. Applying them is straightforward: after your base color dries, use a top coat and gently press the foil onto your nail. The result creates an eye-catching, reflective quality that captivates attention. Stickers, on the other hand, offer a realm of options—from delicate flowers to abstract designs. Simply place them on your dried nails, sealing them with a topcoat for lasting durability.
The creativity you can unleash by utilizing nail foils and stickers is boundless. Experiment with layering different types of foils, combine them with your favorite colors, and even mix in various themed stickers for a standout look. For a truly unique flair, consider using metallic or holographic foils combined with matte finishes for a striking contrast that will have your nails illuminating all spring long.
To wrap up
Following this guide on DIY Spring Nail Art, you now possess the tools and inspiration needed to create stunning designs right at home. You can experiment with various colors, techniques, and themes that reflect the vibrant spirit of spring. Whether you’re a beginner or an experienced nail artist, these easy tutorials provide you with step-by-step instructions to bring your creative visions to life, ensuring your nails become a true extension of your personal style.
By dedicating some time to practice these techniques, you’ll refine your skills and boost your confidence in nail art. Your friends and family may even look to you for inspiration or tutorials of their own! So gather your favorite polishes and nail tools, and let your creativity blossom this spring season. Enjoy the process of self-expression as you adorn your nails with beautiful designs, giving yourself that perfect final touch for any occasion.