There’s no better time to show off your nails than Easter, and ensuring your manicure looks impeccable requires the right tools and techniques. To achieve a vibrant and polished look, you’ll want to focus on proper nail care imperatives, from preparing your nails to the final touches of color. In this post, we’ll guide you through the must-have products and best practices to create a stunning Easter-inspired manicure that will leave everyone in awe.
The Visual Appeal of Easter: Color Trends and Inspiration
Seasonal Color Palettes to Try
For an Easter manicure that truly stands out, you’ll want to incorporate vibrant and fresh color palettes that reflect the season’s essence. Soft pastels are always a solid choice; think baby pinks, mint greens, and light lilacs. These shades not only evoke the feeling of spring but also harmonize effortlessly with traditional Easter Eggs. In addition, don’t shy away from bolder colors such as rich yellows or even a soft sky blue to add a more striking contrast. Combining these colors can create a delightful ombre effect, ideal for showcasing your creativity.
Experimentation with textures can further enhance your nail design during this festive period. Metallic and glitter accents can elevate your basic pastel shades, adding a touch of glam that catches the light beautifully. You can accent a smooth lavender with glittery gold tips or choose to create a full glitter gradient that transitions from a soft pink at the nail base to shimmering silver at the tips. This kind of layered color scheme is striking and ensures your nails are both festive and unique.
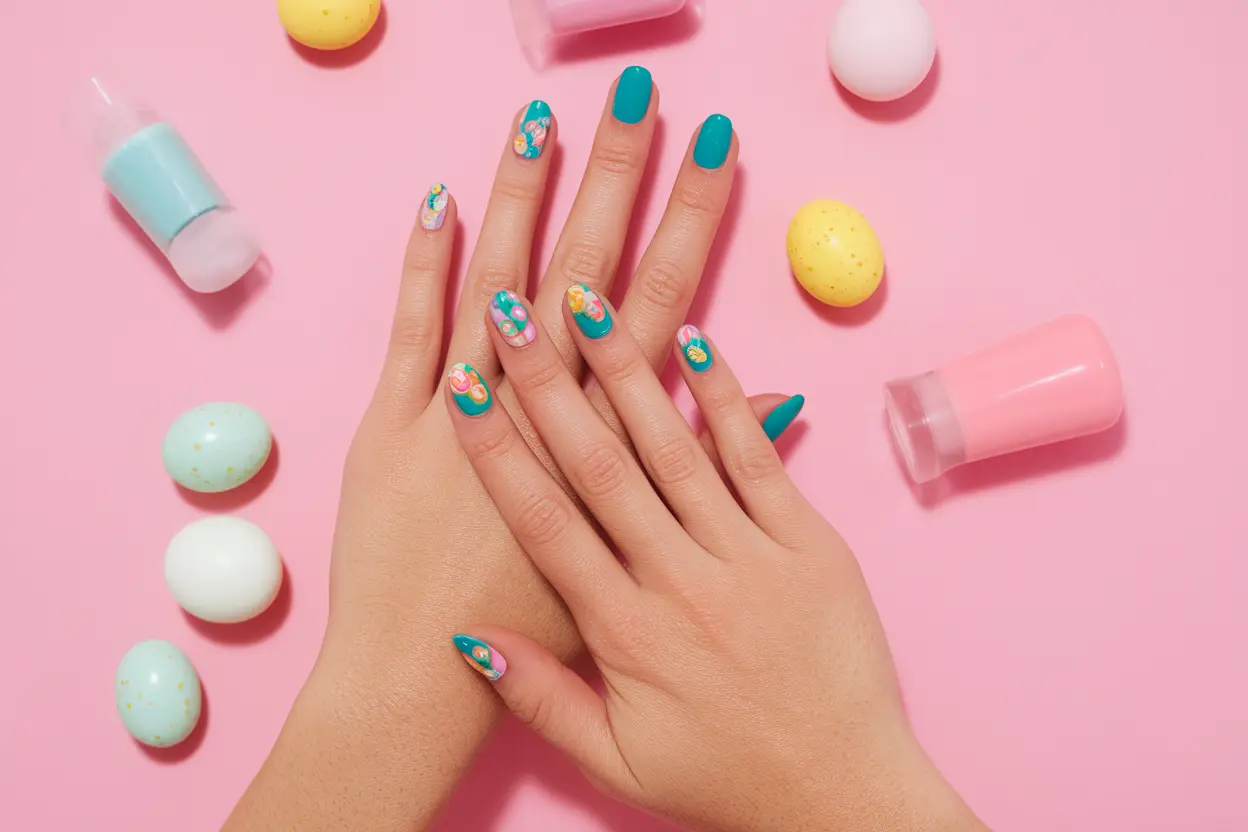
Iconic Easter Nail Art Designs
Easter nail art is a celebration in itself, bursting with inspiration and cheer. Classic designs such as bunny ears, chocolate eggs, and floral patterns can easily bring a playful vibe to your manicure. A cute way to showcase the holiday is to choose a base color, then hand-paint little bunnies or small carrots on your accent nails. Nail stickers can also be a time-saving alternative that offers a professional look with minimal effort. Opt for stickers that feature springtime motifs like tulips or daffodils to further drive home the seasonal theme.
To take your nail art to the next level, consider incorporating intricate designs such as lace patterns or watercolor effects. These styles can provide depth while maintaining that cheerful Easter flair. Whether you choose to go with simple dots to represent eggs or elaborate designs featuring the Easter Bunny, the key is to have fun and express your personality through your nails. Ultimately, your manicure can be a conversation starter and a beautiful compliment to your Easter celebrations.
Prepping Your Nails: The Foundations of a Flawless Manicure
Essential Tools for Nail Care
Investing in the right tools is the first step in achieving a flawless manicure. Key items in your nail care arsenal should include a high-quality nail clipper, a glass nail file, cuticle pushers, and a buffer. These tools not only help maintain your nails but also prevent issues such as snagging or splitting. An electric nail drill can be a game-changer for those looking to refine their manicure technique further and achieve that salon-quality finish at home. Additionally, don’t overlook the importance of disinfecting your tools to avoid nail infections.
| Tool | Purpose |
|---|---|
| Nail Clipper | Trims nails to your desired length |
| Glass Nail File | Shapes nails smoothly without causing splits |
| Cuticle Pusher | Pushes back cuticles for a neat appearance |
| Nail Buffer | Polishes and smooths the nail surface |
Step-by-Step Nail Preparation Process
Start by removing any old polish from your nails using a gentle nail polish remover. Soak a cotton ball or pad, press it against your nail for a few seconds, and then swipe it away to lift the polish effortlessly. After your nails are polish-free, it’s time to trim and shape them. Aim for a length that feels comfortable and manageable for your lifestyle, typically between the fingertip and a little beyond. Use your nail clipper to achieve a consistent length, and then shape with a glass nail file for smooth edges.
| Step | Description |
|---|---|
| 1. Remove Old Polish | Use a non-acetone remover to safeguard nail health |
| 2. Trim Nails | Clip to your desired length carefully |
| 3. File Nails | Shape using a glass file for a smooth finish |
| 4. Push Back Cuticles | Use a cuticle pusher gently to showcase nail beds |
Nail preparation sets the stage for a beautiful manicure. After shaping, addressing your cuticles comes next: apply a cuticle oil to soften them before using your cuticle pusher, ensuring you do this step with care to avoid injury. Next, buff your nails gently to eliminate ridges and promote a healthy shine. Finish with a gentle wash and dry to eliminate oils, preparing your clean canvas for the polish application!
Techniques that Transform: Mastering Application
Base Coats to Enhance Longevity
A base coat serves as the unsung hero of your manicure, acting as a protective barrier between your nails and the polish. Applying a base coat not only aids in preventing staining from pigmented nail polishes, but it also significantly increases the longevity of your manicure. Look for base coats infused with *nourishing ingredients* like vitamins and calcium, which can help strengthen your nails over time. By using a base coat, you can extend the life of your polish by several days, making it an imperative step in your Easter nail care routine.
To maximize effectiveness, ensure that your nails are completely clean and dry before application. A thin layer of base coat is all that’s needed; too much can create a thick barrier, which may lead to chipping. After it dries completely, proceed to your chosen nail polish. This method not only sets a solid foundation but also enhances the overall appearance of the color, giving you that salon-quality finish right at home.
Nail Polish Application Methods for a Smooth Finish
Achieving a smooth and professional-looking finish with your nail polish often boils down to application techniques. Start by applying polish in thin, even strokes down the center of the nail, followed by additional strokes on each side to ensure full coverage. This technique minimizes clumping and uneven texture. Additionally, using a good quality brush can make all the difference—prefer brushes with *rounded or tapered ends*, which can better navigate the contours of your nails for a more precise application.
Practicing the “three-stroke” method is a game-changer. This involves starting at the base of the nail and sweeping the polish to the tip in three strokes: one down the middle and one on each side. This method reduces overflow into the cuticles and helps achieve that *salon-fresh look*. Let each layer dry fully before applying the next to avoid smudging and ensure that you build up color vibrancy without thickness that could lead to chipping.
The Importance of Aftercare: Maintain Your Easter Vibe
After putting in all the effort to achieve that flawless Easter manicure, preserving its vibrancy is important. Aftercare will help to maintain the integrity of your nail art while also ensuring that your nails remain healthy and strong. You should make a habit of moisturizing your hands and cuticles daily, as this will prevent dryness and cracking, which can ruin the appearance of your manicure. Additionally, avoiding harsh detergents and using gloves during chores can provide that extra layer of protection to keep your nails looking stunning.
As you indulge in the festivities of Easter, continuous care for your nails ensures that you don’t end up with chips or faded polish. A targeted aftercare routine solidifies the long-lasting beauty of your Easter manicure. Focus on products specifically designed to nourish and enhance your nail health, contributing to a more sophisticated look that stays fresh throughout the holiday weekend.
Recommended Products for Post-Manicure Care
Investing in the right products can make a significant difference in extending the life of your manicure. Look for hand creams and cuticle oils that contain nourishing ingredients like jojoba oil, vitamin E, or shea butter, which will regenerate and hydrate your skin. A good quality top coat is also important, as it adds a protective layer over your polish, preventing chipping and fading while giving your nails a beautiful shine. Applying a layer of top coat every few days will help maintain that freshly manicured look.
Additionally, consider using a gentle hand wash instead of harsh soaps to keep your skin and nails healthy. Brands that focus on natural ingredients often offer products that are free from sulfates and parabens, ensuring your post-manicure care routine isn’t introducing unnecessary chemicals. Stay equipped with a mini nail care kit that contains nail file, buffer, and your top coat for on-the-go touch-ups.
Tips for Prolonging Your Easter Manicure
A few simple lifestyle adjustments can work wonders in prolonging the life of your Easter manicure. Always moisturize your hands after washing them, as water can strip oils away from your polish and skin. While engaging in activities that put your hands at risk of chipping—like typing or gardening—be mindful to protect your nails. Choosing to wear gloves during these tasks can save your manicure from unnecessary wear and tear.
Additionally, steer clear of quick-drying topcoats if you want to keep your design vibrant. While they might seem convenient, they can often lead to an uneven finish. Patience is your ally; allowing your polish to dry completely after each coat can significantly enhance its longevity. Regular oiling of your cuticles and nails also adds a layer of protection while promoting healthy nail growth—true multitasking for the stylish individual!
- Moisturize daily with nourishing products.
- Use cuticle oil for healthy nail beds.
- Invest in a good top coat.
- Wear gloves to protect nails from everyday activities.
- Regularly apply hand cream to maintain hydration.
Any adjustments you make to your routine can help considerably in ensuring the health and appearance of your nails.
- Avoid harsh soaps for gentle cleansing.
- Patience with drying times will yield a lasting finish.
- Protect your nails while engaging in heavy tasks.
- Regularly oil your cuticles for enhanced nail care.
Any effort you put into maintaining your manicure will pay off tenfold, making your Easter celebration even more memorable.
Avoiding Common Mistakes: What Not to Do
Mistakes Every Nail Enthusiast Should Dodge
Your excitement for achieving the perfect Easter manicure might lead you into common pitfalls that can ruin your hard work. One of the most prevalent mistakes is skipping the base coat. This crucial step not only protects your natural nails from staining but also helps the polish adhere better, resulting in a longer-lasting finish. Another mistake is applying thick layers of polish. Instead, aim for two to three thin layers, allowing adequate drying time in between. Thick coats can lead to smudges and an uneven finish, negating all your effort.
Another common issue arises from using the wrong tools. For instance, reaching for a cuticle pusher without proper education can lead to damage or infection. It’s advisable to use an orange stick to gently push back cuticles rather than forcefully removing any part of them. Achieving the perfect shape is also crucial; filing in different directions can weaken your nails. Stick to one direction while filing to maintain their strength and integrity.
How to Correct Poor Nail Application
In case your manicure didn’t turn out as planned, there are effective remedies you can apply. If you end up with smudges, don’t worry—start by gently cleaning the area with a cotton swab dipped in nail polish remover. If your polish is unevenly applied, a fine nail file can help smooth out rough edges, providing a neater look. If cracks appear due to lack of drying time, applying a thin top coat can bridge the gaps and help seal the imperfections.
For those persistent polish streaks that detract from your overall design, utilizing quick-dry drops after applying polish can dramatically enhance your results. If your polish is too thick and creates a globular appearance, try adding a few drops of polish thinner to ensure smooth, even coverage. Finishing off with a top coat not only adds shine but also fortifies your nails against chipping. By correcting these minor issues, you’ll elevate your Easter manicure and flaunt flawless, festive nails.
Final Words
Upon reflecting on the importance of nail care for your perfect Easter manicure, it’s clear that investing time and quality products can significantly enhance the aesthetic and health of your nails. Begin with a solid foundation by choosing the right tools and techniques tailored to your specific nail type. Regular maintenance, such as gentle exfoliation and hydration, will not only promote growth but also strengthen your nails against breakage. Don’t overlook the significance of a well-picked nail polish in achieving that festive look; vibrant colors and finishes can truly elevate your style for the Easter celebration.
Moreover, personalizing your manicure experience can make it even more enjoyable and rewarding. Whether that means trying out new designs, experimenting with color palettes, or incorporating seasonal nail art, the options are virtually endless. You have the power to express your creativity and boost your confidence through well-cared-for nails. With the imperative knowledge and tools at your disposal, you’re well on your way to achieving a stunning Easter manicure that reflects your unique personality and style.